{Pedestal Jewelry Dish} A Tutorial
Oh the new year. Are you having fun with it? I sure am. I still am trying to nail down my goals, but that’s ok. So to distract me from my lack of goal setting, I made this cute pedestal jewelry dish instead. I guess it could help me keep my nightstand a little more organized so that’s a plus.  I am so in love with (a) the color, (b) the fun pedestal, and (c) it holds jewelry and I do love to have a wide selection of jewelry.
 This baby was pretty easy and inexpensive to create. I made it for about $5 total. What you will need:
- candlestick holder (I bought a wooden one at Hobby Lobby)
- wooden bowl (found it at a thrift store)
- paint
- E-6000 Glue
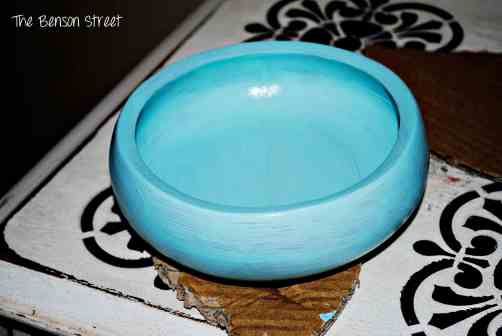
 Start by painting your bowl and candlestick. I did my candlestick in cream and the bowl in a robin egg blue. This will take the most time, but it is super easy. Just paint a coat and then let it dry. Repeat about 7 times if you are doing a light color on a dark color. Just keep painting until it is completely covered.
 Here is a little tip: Make sure you spread your paint evenly. See this picture. If that blob line on the right doesn’t get smoothed out it will stay that way. So check all surfaces. Sometimes those blobs sneak up on you, because you are paying attention to another area that you are painting.
Tip two: Try to paint the same way. This is just like coloring with crayons. It will just look nicer.  Especially pay attention to those blobs when painting all the nook and crannies in the candlestick pedestal.
  After the paint is dry, get the glue ready. I used E-6000 glue, it is nice and strong.
 I put the bowl upside down and then put glue on the around the rim of the candlestick and then center it on the bowl and hold it down for a minute. After that place a book to hold it down while it dries. Let it dry for a day before using.
 When the glue is all dry, accessorize your new pedestal jewelry dish. It could go in your bedroom on your nightstand. It could go in the bathroom near your sink or on a vanity. It is a functional way to dress up any small space.
  Linking up with: Tatertots and Jello, Be Different Act Normal, Simply Designing


This is SO cute! I love how it turned out!
I am loving it. Glad it worked out. You know how you start some projects and they just don’t go how you planned. I hate when that happens!